
The complete guide
The Ultimate Guide to Wallpaper Smoothing Tools: Elevate Your DIY Wallpaper Projects
The Ultimate Guide to Wallpaper Smoothing Tools: Elevate Your DIY Wallpaper Projects
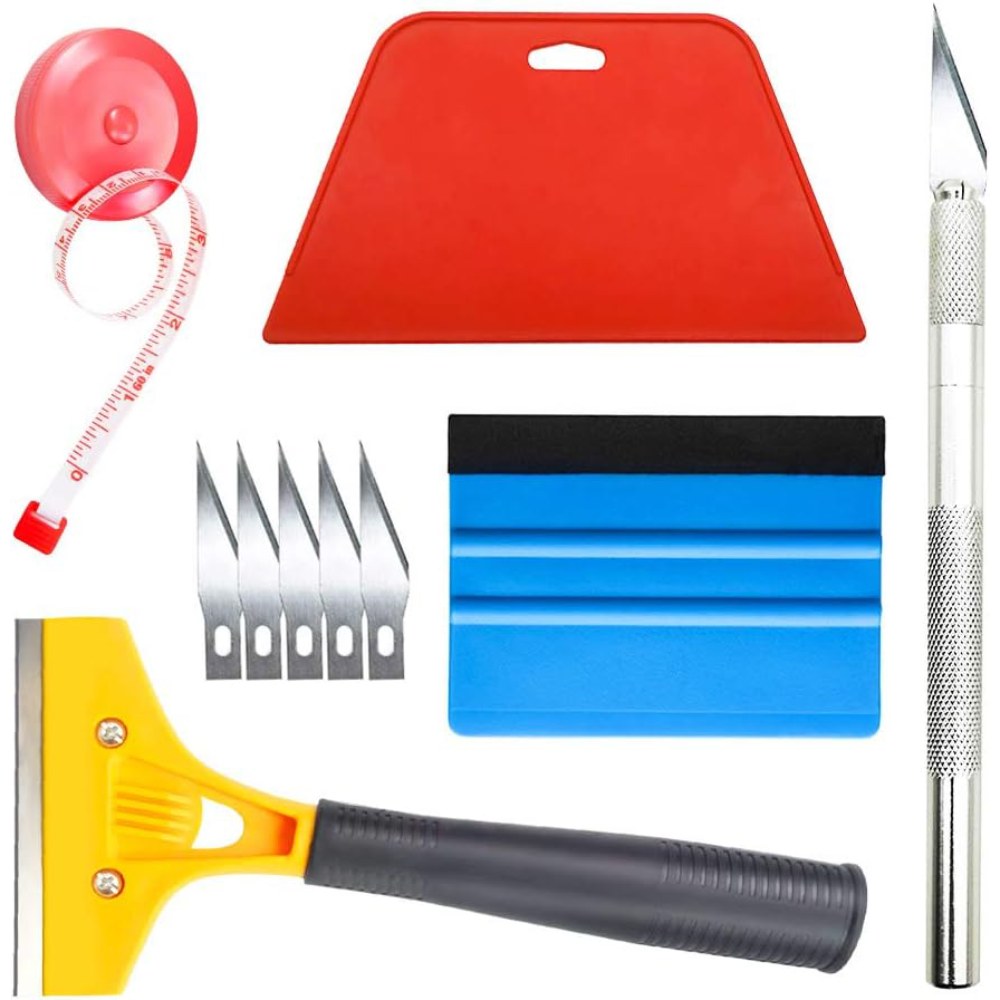
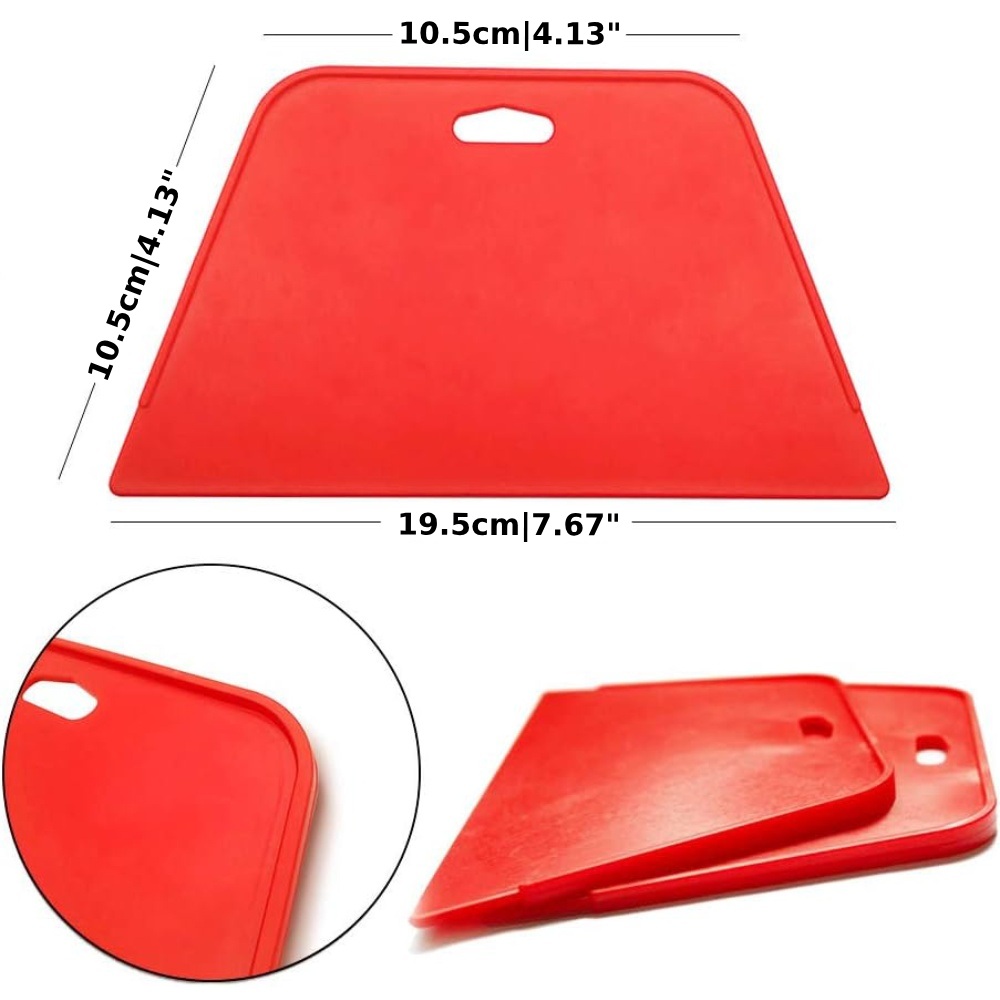
Wallpapering is an art form that transforms spaces, infusing them with personality, warmth, and style. Whether you're a seasoned DIY enthusiast or a beginner eager to personalize your living space, the right tools are crucial for achieving that flawless finish. Among the most essential tools in your arsenal should be a reliable wallpaper smoothing tool, a central component of any comprehensive wallpaper application kit. This blog post delves into the importance of wallpaper smoothing tools and how they, along with other essential tools for applying wallpaper, can make your wallpapering project a breeze.
Why a Wallpaper Smoothing Tool is Essential
The secret to a perfectly applied wallpaper lies in the details, specifically, in achieving a smooth, bubble-free finish. A wallpaper smoothing tool is designed to gently press the wallpaper against the wall, eliminating air bubbles and preventing wrinkles during application. This not only ensures a professional-looking result but also secures the wallpaper's longevity by enhancing its adhesion to the wall.
Choosing the Right Wallpaper Smoothing Tool
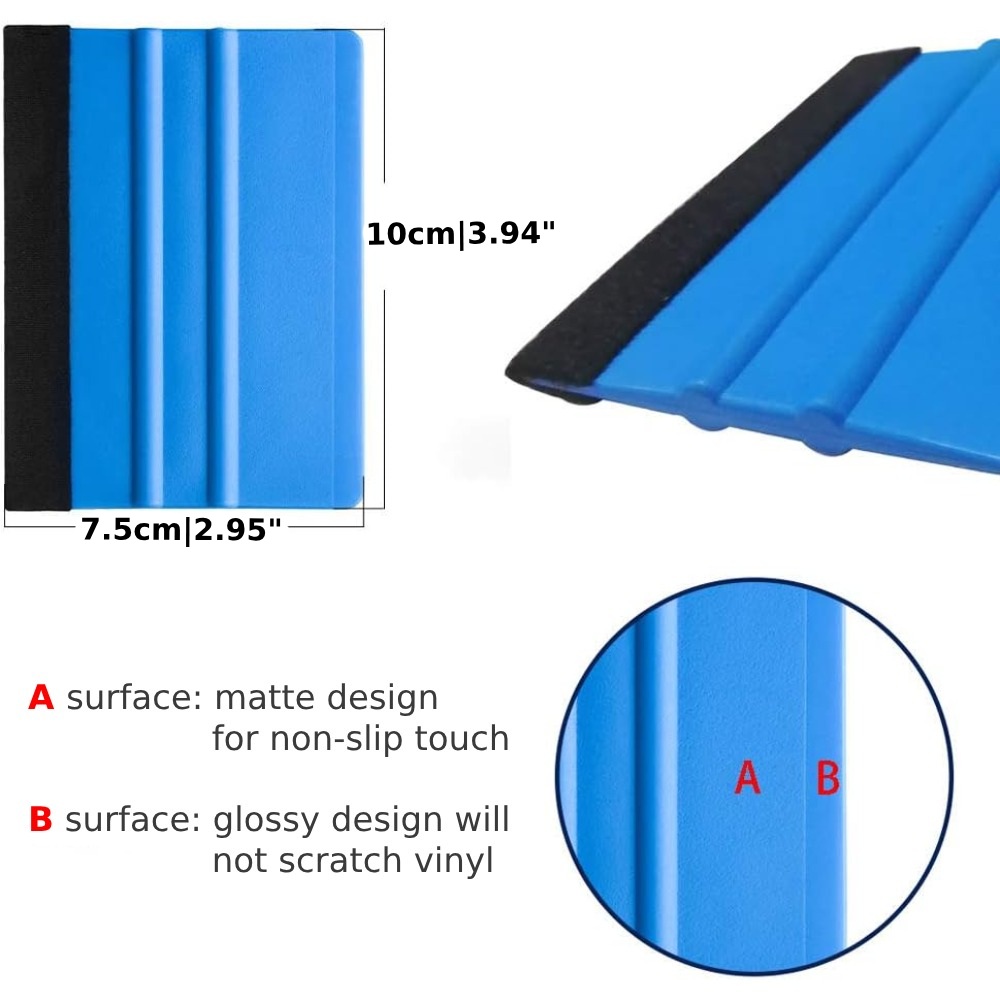
While the concept of smoothing wallpaper might seem straightforward, not all tools are created equal. The best smoothing tools are those that offer a comfortable grip and a flexible yet durable edge, allowing you to maneuver around corners and tight spaces with ease. Look for tools made from materials that won't tear or damage the delicate surface of the wallpaper, such as soft felt or silicone.
The Role of a Wallpaper Application Kit
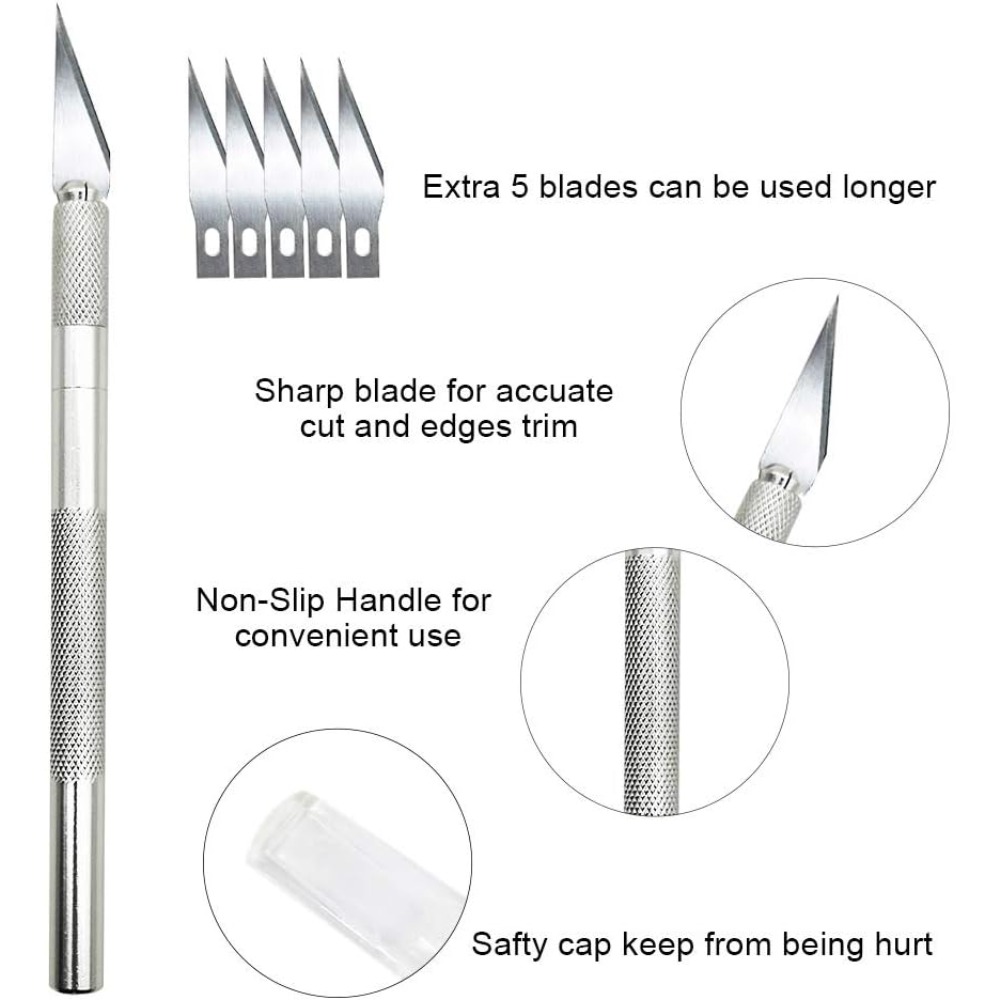
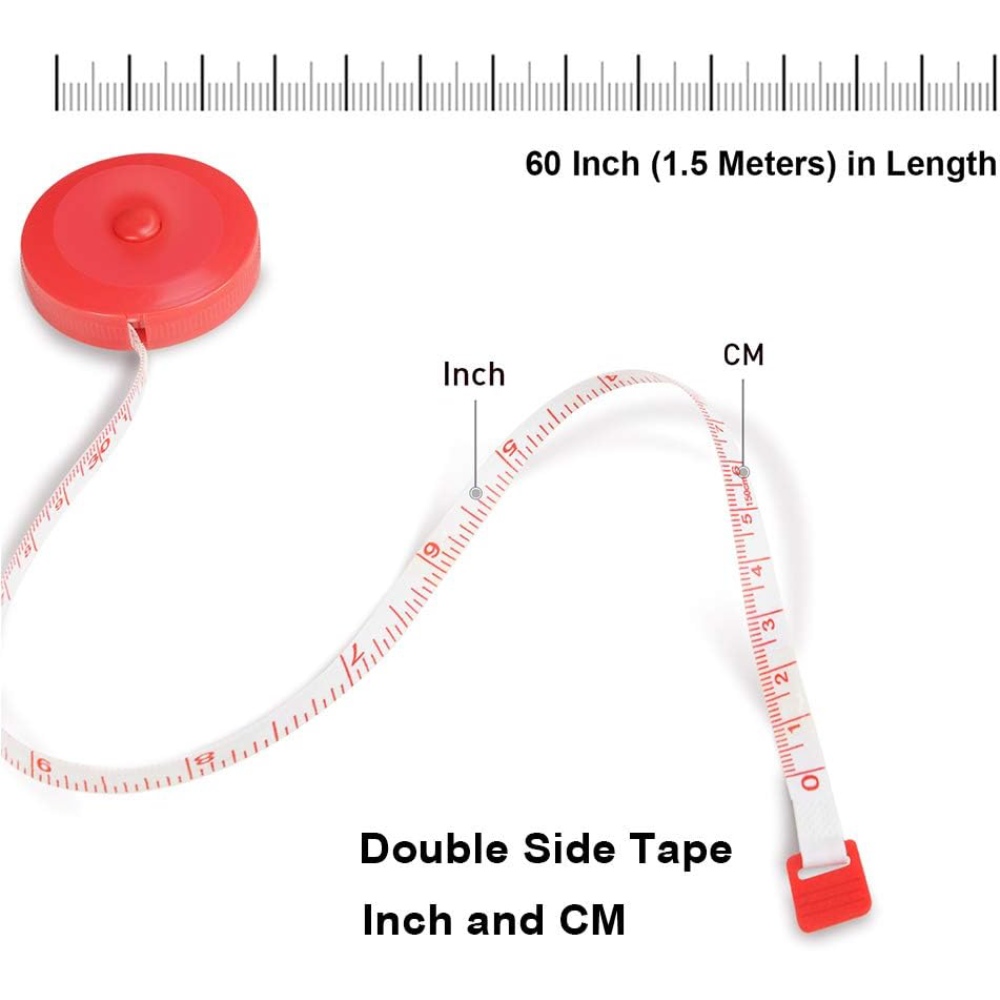
For those embarking on a wallpaper project, investing in a wallpaper application kit is a wise decision. These kits typically include not only a smoothing tool but also other essentials like a seam roller, utility knife, and level. Having a complete set of tools for applying wallpaper can simplify the process, ensuring you have everything you need at hand for precise cutting, alignment, and application.
How to Use Your Wallpaper Smoothing Tool Effectively
Prepare the Surface : Before applying your wallpaper, ensure the wall is clean, smooth, and dry. Any imperfections on the wall can hinder the smoothing process.
Apply the Wallpaper : Start at the top of the wall and gradually unroll your wallpaper, lightly pressing it against the wall. If you're using peel and stick wallpaper, peel off a small section of the backing to start.
Smooth It Out : Holding your wallpaper smoothing tool at a slight angle, gently glide it over the wallpaper from the center outwards. This motion helps push out any air bubbles trapped underneath. For larger bubbles that don't smooth out immediately, carefully lift the wallpaper and reapply.
Trim the Excess : Use a sharp utility knife, another vital component of your wallpaper application kit, to trim any excess wallpaper at the bottom and along the edges for a neat finish.
Tips for a Successful Wallpaper Application
Take Your Time : The key to a successful wallpaper application is patience. Rushing through the process increases the likelihood of mistakes.
Measure Twice, Cut Once : Accuracy is crucial when cutting wallpaper. Double-check your measurements to ensure a perfect fit.
Practice Makes Perfect : If you're new to wallpapering, consider practicing on a small area or a piece of cardboard to get a feel for the tools and the material.
Conclusion
A wallpaper smoothing tool, along with a comprehensive wallpaper application kit, is indispensable for anyone looking to achieve professional-quality results in their wallpaper projects. By understanding the proper techniques and investing in the right tools for applying wallpaper, you can transform any room into a showcase of your personal style. Remember, the beauty of wallpapering is in the precision and care of the application, a beautifully wallpapered room is a testament to the DIY spirit, blending creativity with craftsmanship.